Hobby Craft Academy

Turn a stack of junk mail into the most beautiful letter paper anyone's ever received.

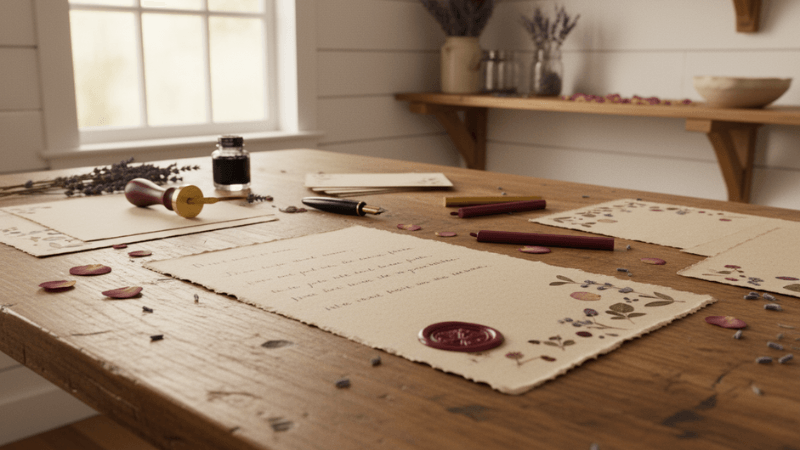
That pile of junk mail on the counter, the magazines you finished last week, the printer paper from your desk. It's not waste. It's the raw material for handmade cards, gift tags, and stationery so beautiful people will ask where you bought it.

Turn Your Scraps Into Stationery
One-time $47 30-Day Guarantee
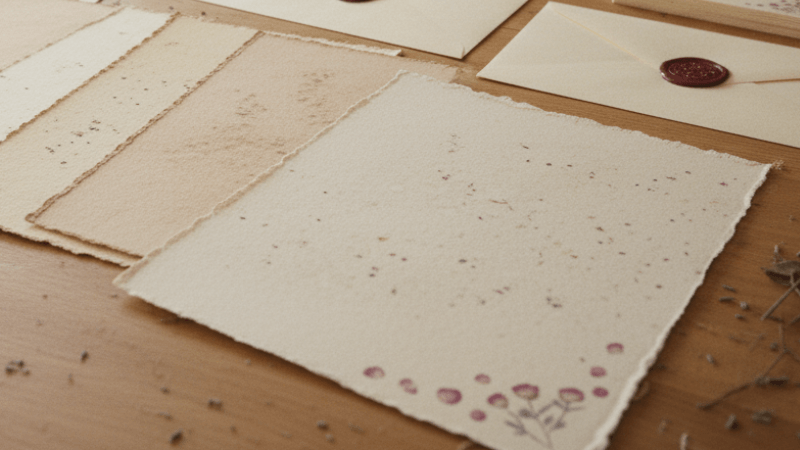
Handmade paper created from recycled materials with botanical elements Under $30 in materials

What Your Paper Scraps Can Become

Papermaking is the original recycling. Humans have been doing it for 2,000 years. You just need a blender, a free afternoon, and paper you were going to throw away.

What you already have

  • Junk mail and flyers
  • Junk mail and envelopes
  • Printer paper scraps
  • Grass clippings from the yard
  • Vegetable scraps and herb stems
  • Cardboard egg cartons

What you'll make

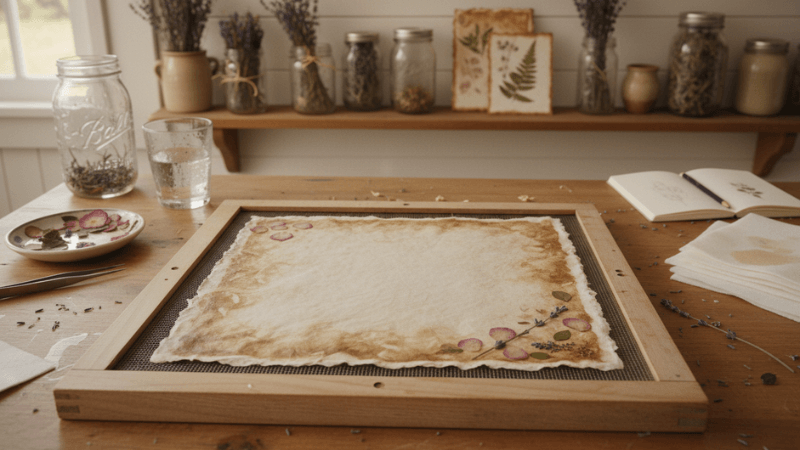
  • Botanical letter paper with real pressed flowers
  • Coffee-tinted vintage stationery for handwritten notes
  • Gift tags your grandkids will keep as part of the gift
  • Thank-you cards that feel like a gift themselves
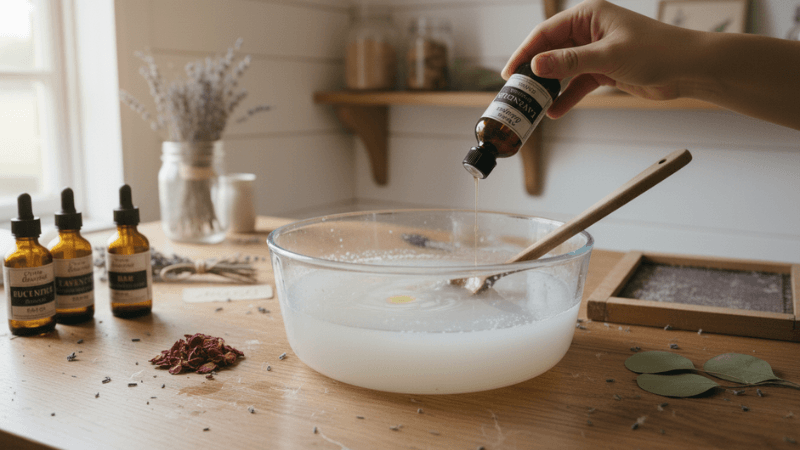
  • Lavender-scented writing paper people hold up to their nose
  • Birthday cards, bookmarks, and holiday gifts. All handmade by you

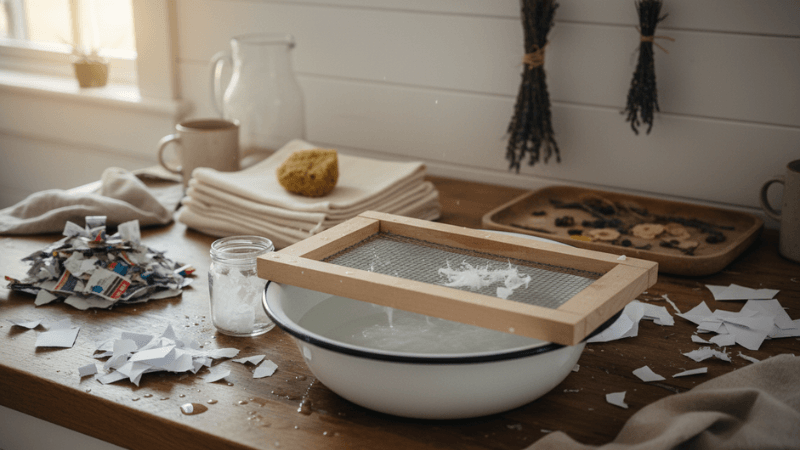
Materials cost: under $30. A blender you already own, a plastic bin from the garage, and paper you were going to throw away. For botanicals? Wildflowers from your garden or a walk around the block (free). For dyes? Coffee, tea, turmeric, beets. Already in your pantry. The hobby that doesn't ask you to buy anything. It asks you to stop throwing things away.

What Happens When You Try This Without a Guide

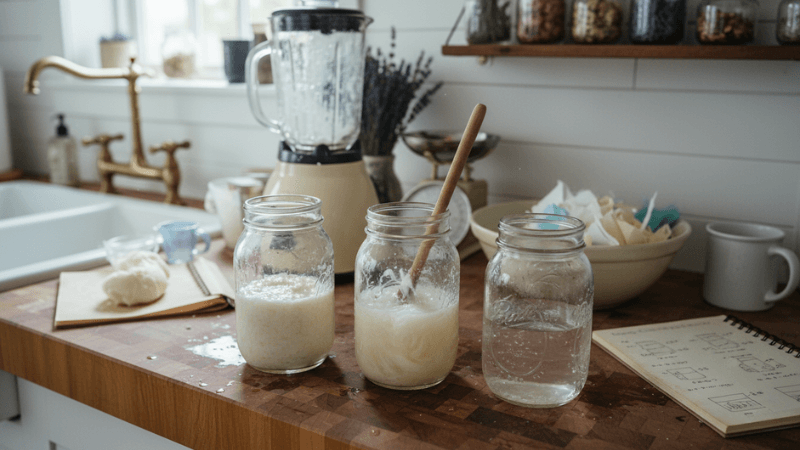
You tear up some paper, toss it in the blender with water, and hit blend. The blender makes a sound you weren't expecting. You're not sure if this is normal.

You pour the pulp into a bin, dip in your makeshift frame, and pull it out. The sheet is lumpy, uneven, too thick on one side and see-through on the other. You try to flip it onto a towel and it tears in half.

"It folds up and turns back into a pulpy mess." "Too thin." "Lumpy pulp." Those are real posts from craft forums, not hypotheticals.

Now your kitchen looks like a paper mill exploded. There's water everywhere, bits of pulp in the sink, and you've wasted more materials figuring it out than you ever would have recycled normally.

The irony stings. You tried to do something cool with your waste, and ended up creating more of it.

Papermaking isn't hard. But figuring it out alone, with no one showing you what to do, turns a relaxing afternoon into a frustrating one.

Failed first attempt at papermaking

Everything You Need Is Already in Your Kitchen

🌀

Blender

Any standard blender. Paper fibers are softer than ice or frozen fruit.

📦

Plastic Bin

A basic storage tub from the garage or dollar store. Nothing fancy.

♻️

Recycled Paper

Junk mail, old magazines, printer paper, wrapping paper scraps. The stuff you'd normally toss.

Kitchen Dyes

Coffee for vintage tones. Turmeric for gold. Beets for rose. Tea for warm amber.

🌿

Garden Scraps

Grass clippings, herb stems, vegetable ends. Your garden is a supply closet.

🌻

Botanicals

Wildflowers from a walk. Pressed leaves. Lavender sprigs. All free.

Total startup cost: under $30 Most of it is already in your house right now.

Honest Answers to Fair Questions

"Is this actually eco-friendly, or is it just marketed that way?"

No greenwashing here. You're taking paper that already exists, breaking it back down to fiber, and reforming it by hand. No chemicals, no factory, no shipping. The dyes come from food scraps. The botanicals come from your yard. You're not buying "sustainable" products. You're literally reusing what's already in your house.

"Will it look homemade in a bad way?"

The difference between "homemade-bad" and "artisan" is technique. The course covers exactly how to get even sheets, consistent thickness, and professional-looking edges. Your friends won't think you made it in your kitchen. They'll think you bought it from an artisan shop.

"I can just recycle normally. Why bother?"

You absolutely can. But recycling sends your paper to a facility that uses industrial chemicals and energy to process it. This skips all of that. You do it by hand, in your kitchen, in 45 minutes. And at the end, instead of another bin pickup, you have something beautiful you made yourself. Recycling is good. This is better.

Angela F., instructor at Hobby Craft Academy

Hi, I'm Angela.

I spent 30 years as a teacher. When I retired, I wasn't sure what to do with all that free time... until I found papermaking. Now my kitchen table is my studio, my recycling bin is my supply closet, and my grandkids fight over who gets the next batch of handmade birthday cards.

I'm not an artist. I'm a retired teacher from Los Angeles who likes making things with her hands and doing stand-up comedy at a local club (my lifelong dream). If I can learn this, you absolutely can too.

Angela

Introducing...

The Paper & Petals Workshop

The beginner-friendly papermaking course that turns your recycling bin into raw material for art. No experience needed. No expensive equipment. Just a blender, some scraps, and a free afternoon.

The Paper & Petals Workshop course overview

What's Inside the Workshop

Six video modules. Practical, hands-on, zero fluff.

Module 1: Papermaking Basics

Module 1

Papermaking Basics & Your First Sheet

The simple science behind papermaking, and your first real sheet in under an hour.

  • The exact supplies you need (and what to skip) to start for under $30 without overspending on tools that don't matter.
  • How papermaking actually works: breaking down fibers and reforming them. Simpler than cooking.
  • Follow along step-by-step as we make your first sheet together, from tearing paper to pressing and drying.
  • The single most important thing to get right on your first try (hint: it's all about consistency of the pulp, not your skill).
Module 2: Perfecting Your Pulp

Module 2

Perfecting Your Pulp & Achieving the Right Consistency

Why your first batch was lumpy, and how to fix it permanently.

  • The reason your paper turns out too thick or too thin, and the simple fix that works every single time.
  • What never to blend (unless you want to ruin your batch and waste your afternoon).
  • How to test your pulp before committing to a full sheet, so you know it's right before you invest the time.
  • The trick to storing pulp in your fridge for weeks, so you can make paper whenever the mood strikes.
Module 3: Natural Dyeing with Kitchen Ingredients

Module 3

Paper Color Mastery: Natural Dyeing & Tinting

Create rich colors using things you already have in your kitchen. Coffee, tea, turmeric, beets. No synthetic dyes, no art store trips.

  • How to dye paper with coffee and tea for warm, vintage tones that look decades old.
  • The one step for even color distribution (skip it and you'll get streaky, blotchy paper every time).
  • Which kitchen ingredients produce which colors: turmeric for gold, beets for rose, blueberries for soft purple.
  • How to create ombre effects and color gradients that look professionally done, using nothing but patience and a spoon.
Module 4: Embedding Botanicals

Module 4

Embedding Botanicals & Creating Textured Paper

Turn plain paper into botanical art using flowers, herbs, and leaves you pressed yourself.

  • How to press flowers specifically for papermaking so they stay flat and keep their color for months.
  • Why your botanicals fall off or look raised, and the simple trick that makes them flush with the surface.
  • What never to embed (thick stems and fresh flowers will ruin your paper).
  • How to position botanicals so you still have plenty of writing space for letters and cards.
Module 5: Scented Paper

Module 5

Scented Paper Making

Add lavender, rosemary, or citrus scent to your paper that lasts for months. A full sensory experience from recycled materials.

  • How to add scent during the pulp stage or after drying (plus when to use each method for the strongest results).
  • The exact essential oil ratios so your paper smells wonderful without overpowering, and which oils to avoid entirely.
  • Storage methods to keep your scented paper fragrant for months, plus how to pair scents with specific botanicals.
Module 6: Couching, Pressing & Drying

Module 6

Couching, Pressing & Drying Like a Pro

The finishing techniques that turn wet pulp into smooth, usable sheets. This is where "homemade" becomes "artisan."

  • The flip technique that transfers paper from mould to towel without tearing, even on your first attempt.
  • What never to do when pressing (or you'll end up with wrinkled, warped paper that curls at the edges).
  • How to dry your paper so it stays flat and smooth, not curled and brittle.
  • The single best method for achieving a smooth, writable surface that takes ink without bleeding.

4 Free Bonuses (Included Today)

Zero-Waste Bonus Bonus 1: Making Paper From Organic Materials

Value: $19 , yours FREE

Making Paper From Organic Materials

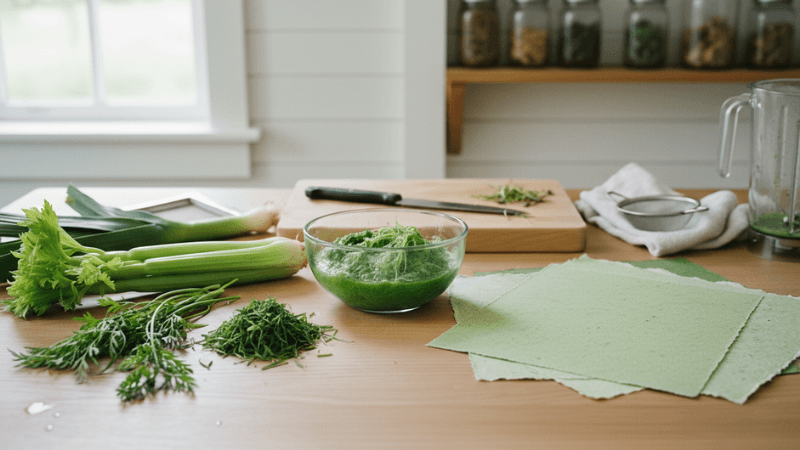
Skip recycled paper entirely. Make sheets from grass clippings, herb stems, and vegetable scraps straight from your kitchen or yard.

  • How to transform grass clippings, celery, and leafy vegetables into usable paper pulp (the prep technique that actually works).
  • The timing trick for breaking down fresh organic materials without over-blending them into mush.
  • Which garden scraps work best and which ones to avoid if you want smooth, writable paper.
FREE Bonus Bonus 2: DIY Mould & Deckle

Value: $29 , yours FREE

Building Your DIY Mould & Deckle

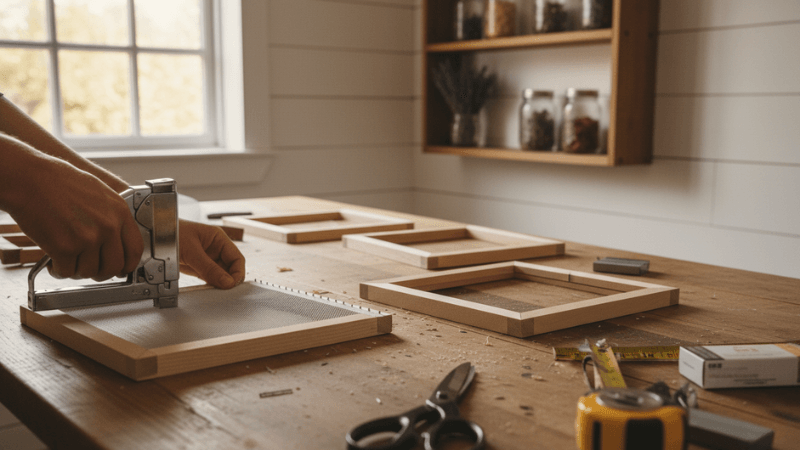
Build your own professional-quality papermaking frame for under $15 using dollar store materials. No woodworking skills needed.

  • Follow along as I build a complete mould using dollar store frames and window screen, step by step.
  • The one critical technique for tight screen tension and smooth paper every time (skip this and your sheets will be lumpy).
  • How to make multiple sizes for different projects, plus alternative methods like embroidery hoops and cookie cutters.
FREE Bonus Bonus 3: Foraging, Pressing & Drying Botanicals

Value: $19 , yours FREE

Foraging, Pressing & Drying Botanicals

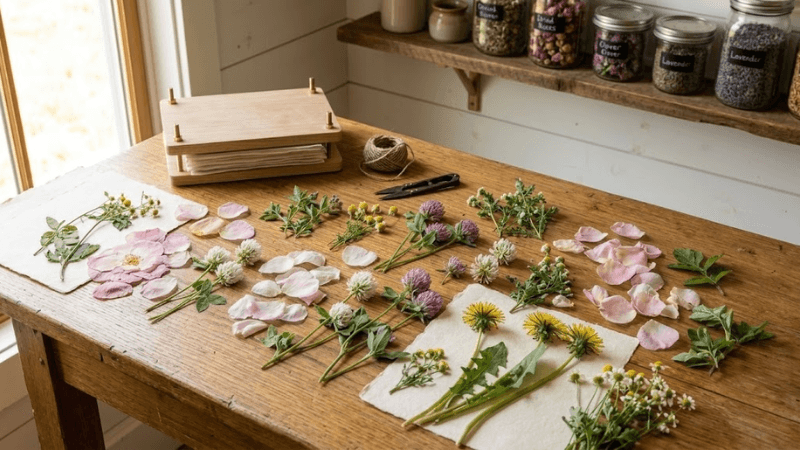
Turn your garden, a walk outside, or even a wilting bouquet into a library of beautiful botanicals ready to press into your handmade paper.

  • How to press and dry botanicals for perfectly flat results every time.
  • Rescue dried-out or old bouquets and turn them into something beautiful.
  • Step-by-step technique for pressed rose petal hearts, plus a visual showcase of finished examples.
FREE Bonus Bonus 4: Natural Dyes & Scents Guide

Value: $19 , yours FREE

Natural Dyes & Scents For Papermaking Guide

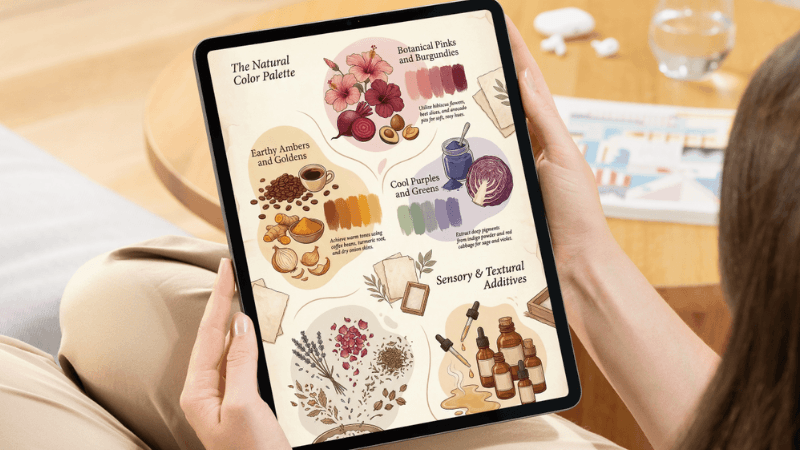
Give your handmade paper a soul with rich earthy tones, jewel-toned botanicals, and scents that make every sheet feel like a luxury gift.

  • Complete natural dye guide with 15 ingredients, ratios, and color results.
  • 10 essential oil combinations organized by season.
  • How to develop your own signature combinations that people will recognize as yours.

Less than a nice dinner out. You'll use it for years.

Get Instant Access Today

One payment. No subscriptions. No hidden costs.

Launch pricing

Total package value: $183

Regular price: $97

$47

One-time payment • Lifetime access

  • 6 Complete Video Modules ($97 value)
  • Bonus: Making Paper From Organic Materials ($19 value, FREE)
  • Bonus: Building Your DIY Mould & Deckle ($29 value, FREE)
  • Bonus: Foraging, Pressing & Drying Botanicals ($19 value, FREE)
  • Bonus: Natural Dyes & Scents Guide ($19 value, FREE)
  • Lifetime access: learn at your own pace, forever
  • 30-Day “Love Your Paper” money-back guarantee
Get The Paper & Petals Workshop for $47
🔒 Secure Checkout ✓ 30-Day Money Back Guarantee

This $47 price won't last forever. Once I have more student success stories and testimonials, the price will increase, first to $97, then eventually to $157 or more.

Everything You Get Inside

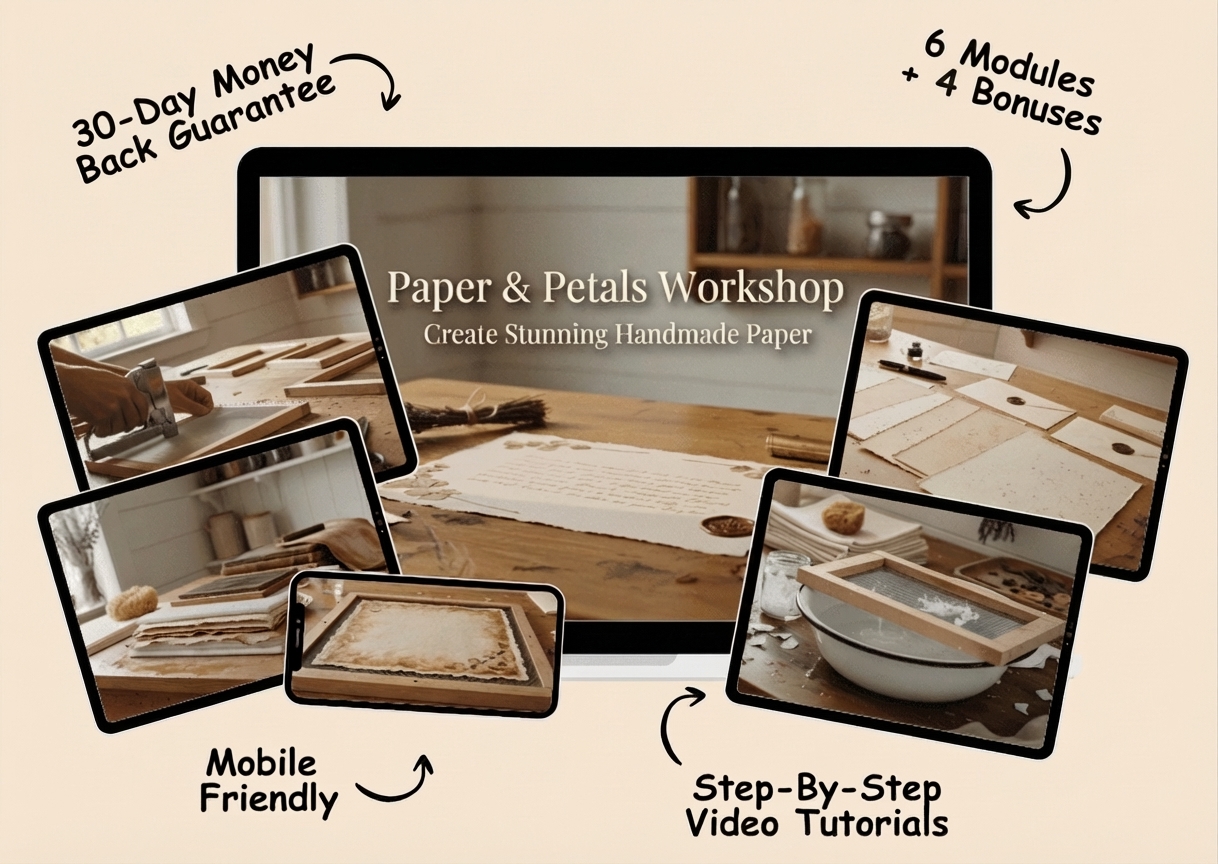
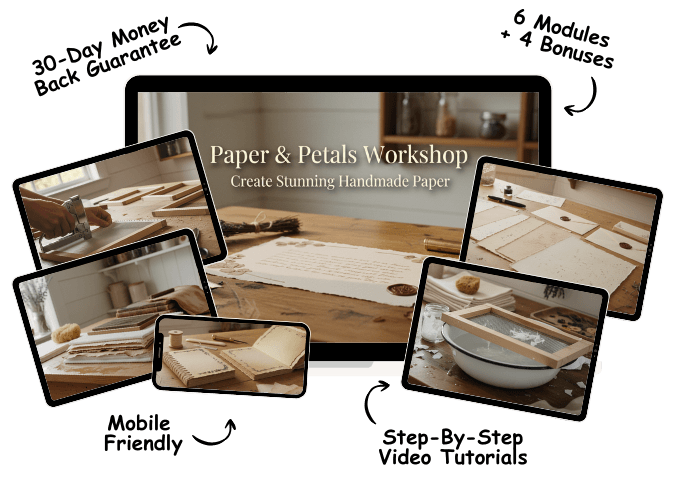
Complete Paper & Petals Workshop package overview
30-Day Money Back Guarantee badge

30-Day “Love Your Paper” Promise

I believe The Paper & Petals Workshop is the most beginner-friendly, accessible papermaking course you'll find anywhere. If you don't feel that creative spark, I'd feel like I let you down.

If you don't feel the joy and satisfaction I promised, just send me a quick note within 30 days and I'll refund you 100%. No questions, no hassles, guaranteed.

Common Questions

Is papermaking safe for my kitchen? Will it wreck my blender or plumbing?

Totally safe. Any blender works, even a $15 thrift store one. Paper fibers are softer than ice or frozen fruit, so no damage. It won't clog your plumbing either. The course covers how to dispose of excess pulp properly (takes about two minutes).

What supplies do I need, and how much will I spend?

A mould and deckle ($20-25, or build your own with the bonus guide for under $15), a plastic bin ($10), a blender you already own, and recycled paper scraps (free from your house). Under $30 total. The course walks you through exactly what's worth buying and what to skip.

Will this make a huge mess?

Not with the right setup. Angela teaches a "tidy papermaking station" method where cleanup takes under 10 minutes. Your counters stay dry and your workspace stays organized. The trick is bin placement and size, which she covers in Module 1.

I'm not artistic or crafty. Will my paper still look good?

Yes. The process itself creates beauty. Handmade paper looks stunning even without botanicals or dyes. The course teaches technique, not artistic talent. You follow steps. The results speak for themselves.

How long is the course, and is it self-paced?

Completely self-paced. Under 3 hours of video total. You could binge it in a Saturday morning or spread it across weeks. You'll make your first sheet in Module 1 by following along in real-time.

What if I don't have pressed flowers or botanicals?

Plain handmade paper is beautiful on its own. But if you want botanicals, Angela shows you how to pick and press wildflowers from your neighborhood (free), or you can buy dried flowers at any craft store for under $10. The organic materials bonus also teaches you to make paper from grass and vegetable scraps, no flowers required.

Do I need prior experience with crafts?

None. Zero. This is designed for complete beginners. Angela was a schoolteacher with no papermaking background when she started. Every step is demonstrated on camera.

How long do I have access?

Lifetime. Forever. You pay once and revisit the lessons anytime, whether that's next month or five years from now. No expiration, no subscription fees, no renewals.

What if I try it and it's not for me?

You have 30 days to try the entire workshop risk-free. If you're not happy for any reason, email Angela and she'll refund you 100%. No questions asked.

Is it secure to purchase online?

100% secure. Encrypted payment processing (same standard as major retailers). Your info is protected, and you'll get an instant receipt and course access.

What payment methods do you accept?

All major credit cards and PayPal. Secure, instant, no extra fees.

Next time you look at your recycling bin, you'll see raw material.

That junk mail, those old magazines, the paper bags from the grocery store. Right now it all goes in the blue bin and you never think about it again.

After this course, you'll see stationery. Birthday cards. Thank-you notes. Gift tags people keep. Something made by your hands, from materials that cost you nothing, that looks like it came from a boutique.

Most hobbies ask you to buy a bunch of supplies before you even start. This one uses what's already in your house.

Set aside an afternoon. Put on some music. Grab that stack of paper by the door. And turn it into something beautiful enough to give away.

If within 30 days you don't feel the creative satisfaction I promised, email Angela for a full refund. No questions asked.

With love, Angela

Start Creating for $47
🔒 Secure Checkout ✓ 30-Day Money Back Guarantee
Secure payment badges